Add and edit contacts manually
You can add a contact manually or import contacts using a template or from Google Contacts. Once a contact is added, you can edit or delete it.
-
In the header, click Contacts. The Contacts page appears.
-
Click Add Contact.
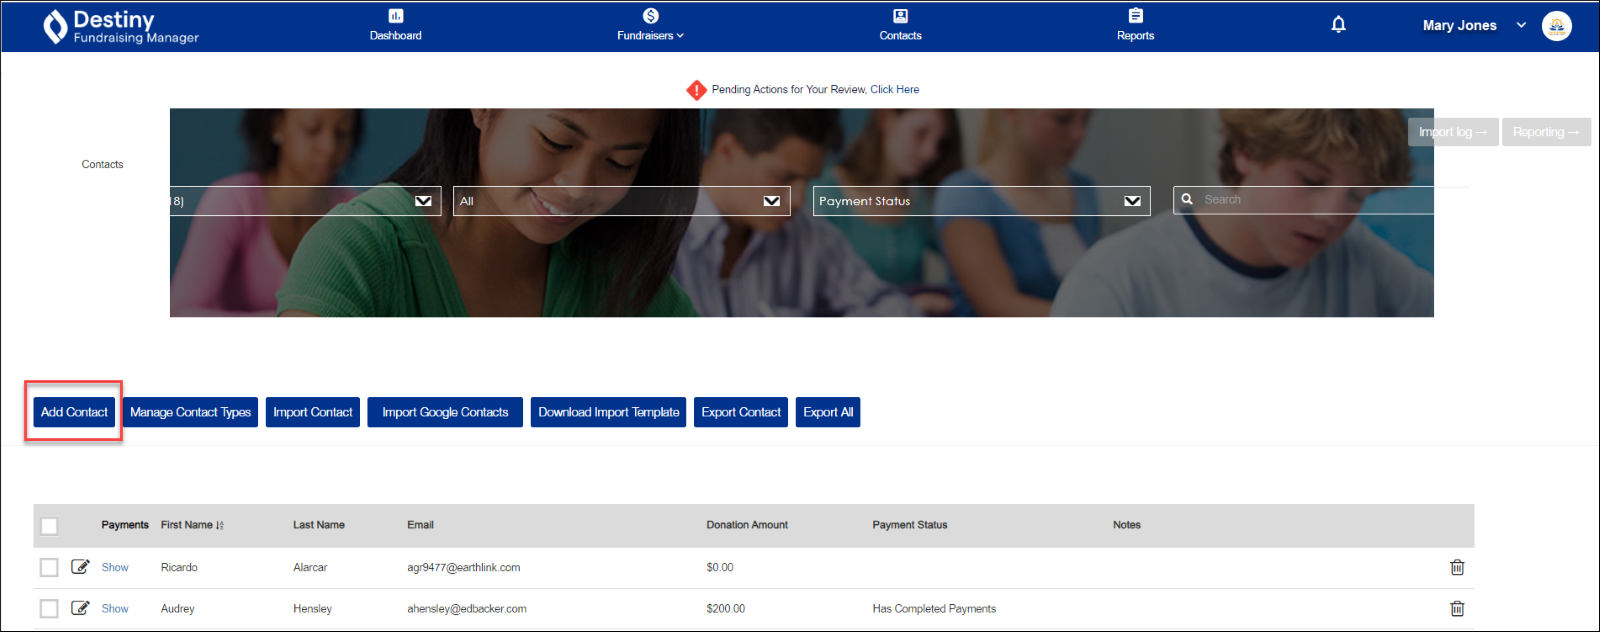
A pop-up appears.
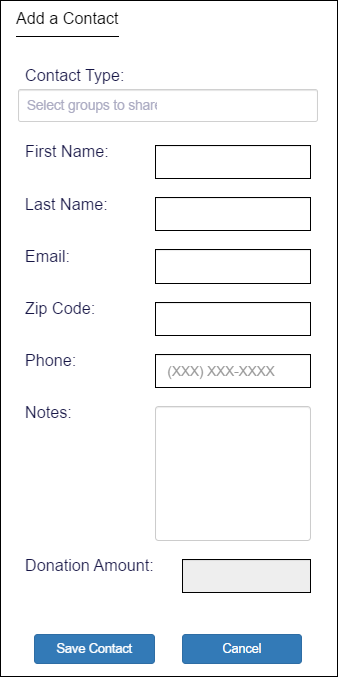
Note: Only First Name, Last Name, and Email are required, but it’s helpful to enter all the contact information you have.
-
At the Contact Type field, indicate whether this contact is associated with a contact type, such as Alumni or Board member. You can type in a new contact type or select one from the drop-down. (Learn how to manage contact types.)
-
In the fields below, enter the contact’s First Name, Last Name, Email address, Zip Code, and Phone number.
-
At Notes, type any additional information about the contact. For example, Ms. Ramirez would like a phone call next week to discuss her proposed donation.
-
If the contact has donated, you can enter the amount in the Donation Amount field.
-
Click Save Contact. The Contacts page refreshes, and the new contact appears in the list.
You can:
- Edit a contact’s information by clicking the edit icon next to their name.
- Delete a contact by clicking the delete icon.
- View payments the contact made by clicking Show.

For additional help, contact techsupport@follettsoftware.com.